Project Overview

This project predicts the risk of a heart attack using machine learning models based on a dataset containing various medical and demographic factors. The model is trained using a classification algorithm (XGBoost) and deployed via a Flask web application.

How It Functions

  1. The dataset is loaded from a CSV file and preprocessed to handle both numerical and categorical features.
  2. Numerical features are imputed for missing values using the median, followed by standardization. Categorical features are imputed using the most frequent value and encoded using OneHotEncoder.
  3. The data is split into training and testing sets, and an XGBoost classifier is trained on the training data.
  4. A pipeline is created to ensure seamless preprocessing and classification. The trained model is saved as a .pkl file using the pickle module.
  5. The Flask app includes an HTML form for inputting patient data. Once submitted, the app processes the input, loads the saved model, and makes a prediction based on the input features.
  6. The result is returned, indicating whether there is a risk of heart attack based on the input data.

Webpage Interface Snapshots

Snapshot 1

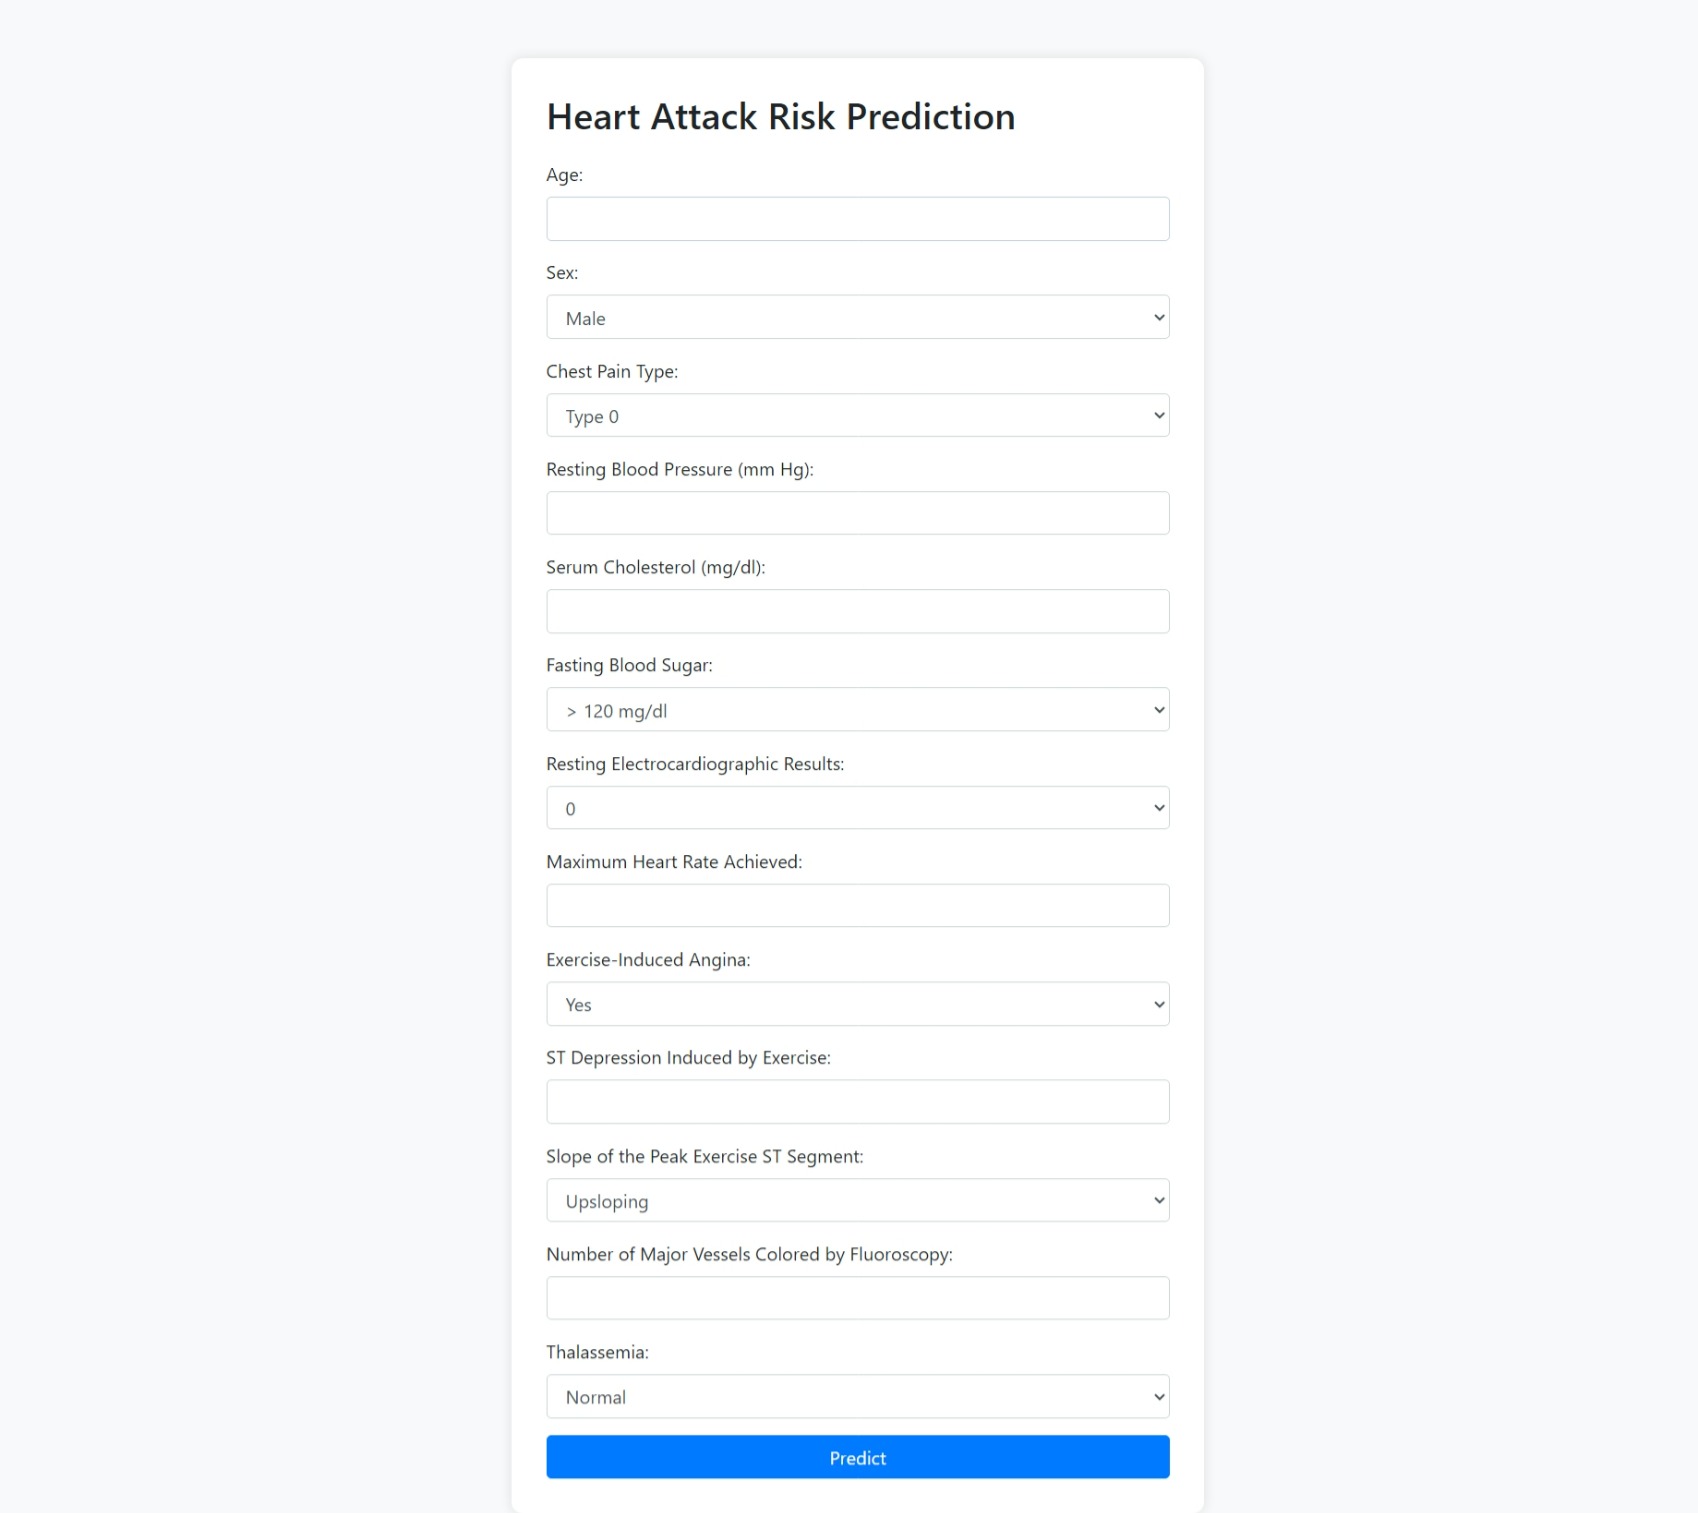
Snapshot 1: The homepage of the Heart Attack Risk Prediction tool, where users can input their medical data to predict the risk of a heart attack.

Snapshot 3

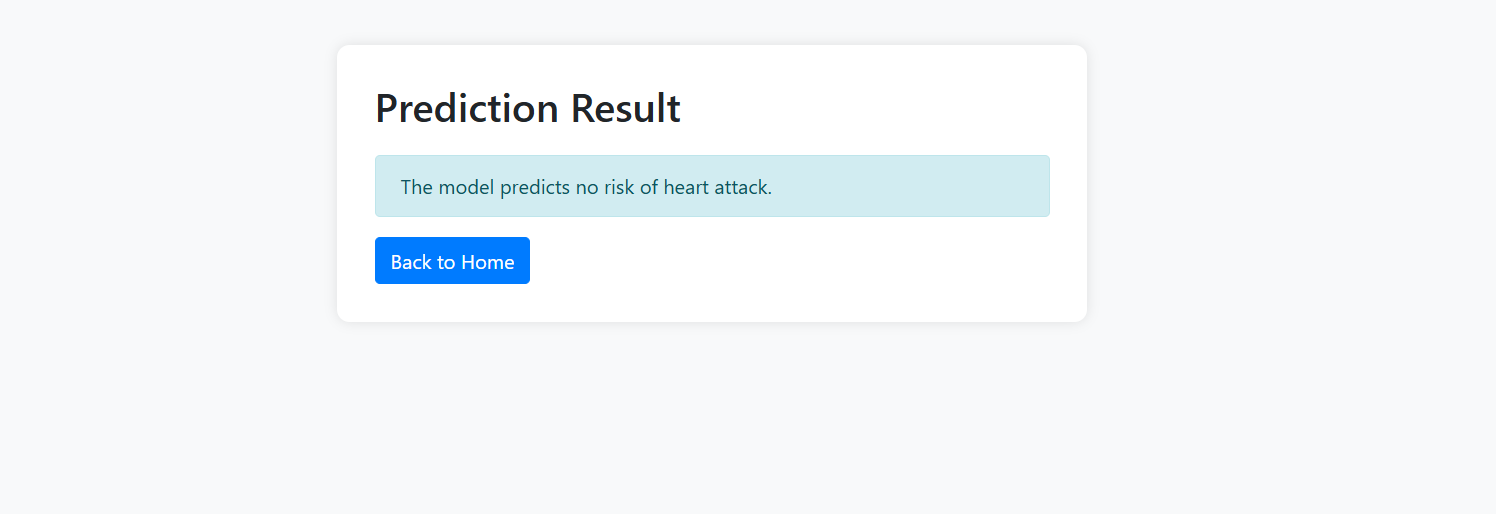
Snapshot 2: The prediction result page, which shows whether the model predicts a risk of heart attack based on the input data.

GitHub Repository

You can access the repository for this project here.

Where You Can You find :-

1) app.py: The Flask application code.
2) templates/index.html: The input form.
3) templates/result.html: The result page.
4) data/Heart_data.csv: The dataset used for training the model.

How to Clone and Run the Project

  1. Open your terminal or command prompt.
  2. Clone the repository using the following command:
    git clone https://github.com/AFFANALAM07/Heart-Attack-Risk-Prediction
  3. Navigate to the project folder:
    cd heart-attack-risk-prediction
  4. Install the necessary dependencies (make sure Python and pip are installed):
    pip install -r requirements.txt
  5. Run the project:
    python app.py